The Unseen Enemy: Mastering Hidden Water Intrusion in Buildings
Bilal S.
Founder & CEO - BDR
Introduction
If you’ve ever seen mysterious bubbles under paint, crumbly masonry, or inexplicable damp spots inside a seemingly solid wall, you know water is a cunning adversary. It doesn’t punch through the front door; instead, it seeps, creeps, and stows away behind the scenes, undermining the very bones of buildings. We call this hidden water intrusion, and while it’s easy to overlook, its long-term impact is anything but subtle.
In this post, we’ll dissect hidden water intrusion as if it were a stubborn business problem that refuses to go away. We’ll pull together the practical knowledge, the tools that work, and a strategic mindset for reigning it in. Let’s turn unknown leaks from lurking liabilities into issues you can control. The goal: get clarity, unearth problems early, and deploy the highest-leverage fixes. Here’s how.
Hunt with Precision: Modern Water Testing Methodologies
Overview:
The first rule of solving hidden water issues is diagnosing exactly where and how water travel is happening. This calls for combining multiple investigative techniques. Think of these as different lenses that let you see through walls, floors, and decades of construction.
- Forensic Water Testing
Like a detective staging the scene, forensic water testing re-creates leaks under controlled conditions. The most robust version takes the ASTM E1105 method and dials it up, using long, 30-minute water application, sometimes negative pressure chambers, and always deliberate. The goal isn’t to check boxes for code compliance; instead, it’s to reproduce real world leaks so you aren’t left guessing.
Spray racks simulate wind-driven rain, exposing how water infiltrates in storms, while targeted application to suspect points helps isolate the specific failure.
2. Electronic Leak Detection (ELD)
Want to find holes in waterproof membranes before they sabotage interiors? Use electricity as your bloodhound.
- Low-Voltage ELD: Drench the membrane, run a current, and breach points light up. This works even through vegetative roofs or pavers.
- High-Voltage ELD: Spark testing across exposed, dry membranes finds pinholes fast.
These aren’t just new-tech toys; ELD methods spot flaws impossible to see with the naked eye, especially useful in quality control during construction or urgent leak hunts on aging roofs.
3. Moisture Metering & Vapor Emission
Classic tools, like resistance-based meters, remain essential for timber and provide comparative readings in masonry.
Calcium chloride tests (per ASTM F1869) reveal how much vapor is escaping concrete slabs, while nuclear meters sense hydrogen within roof assemblies. This is an indirect but reliable telltale of hidden water.
4. Adhering to the Standards
Testing isn’t about making it up as you go. Rely on field-proven protocols:
- ASTM E2128: The gold standard in leak evaluation roadmaps.
- ASTM E1105, AAMA 501.2: Simulate wind and water in fenestration diagnostics.
- ASTM C1601: Focus on masonry details.
Diagnose, Don’t Guess: Forensic Building Investigation
Finding a leak is only half the battle. Understanding why it happened is the rest.
1. Systematic Protocols
Leverage investigative scaffolds like ASTM E2128. Gather all the facts: history, repair logs, previous failures. It’s chess, not checkers; work through cause and effect, and let each test inform the next. Always separate system inadequacy (bad design or material choice) from condition degradation (wear, age, or poor maintenance).
Document everything. If it can’t be replicated, it might as well never have happened.
2. Visual Inspection + Environmental Monitoring
Don’t underestimate skilled eyes. Early signs such as efflorescence, peeling paint, and bubbling coatings are your first clues. Install temperature and humidity loggers. Over weeks, these expose patterns no single test could reveal, mapping moisture’s silent migration.
3. Targeted Water Testing
Refine your search: controlled water applications, extended-duration tests, and negative pressure chambers pinpoint complex leaks, especially at tricky junctions like historic masonry or custom fenestrations.
4. Non-Destructive Testing (NDT) Integration
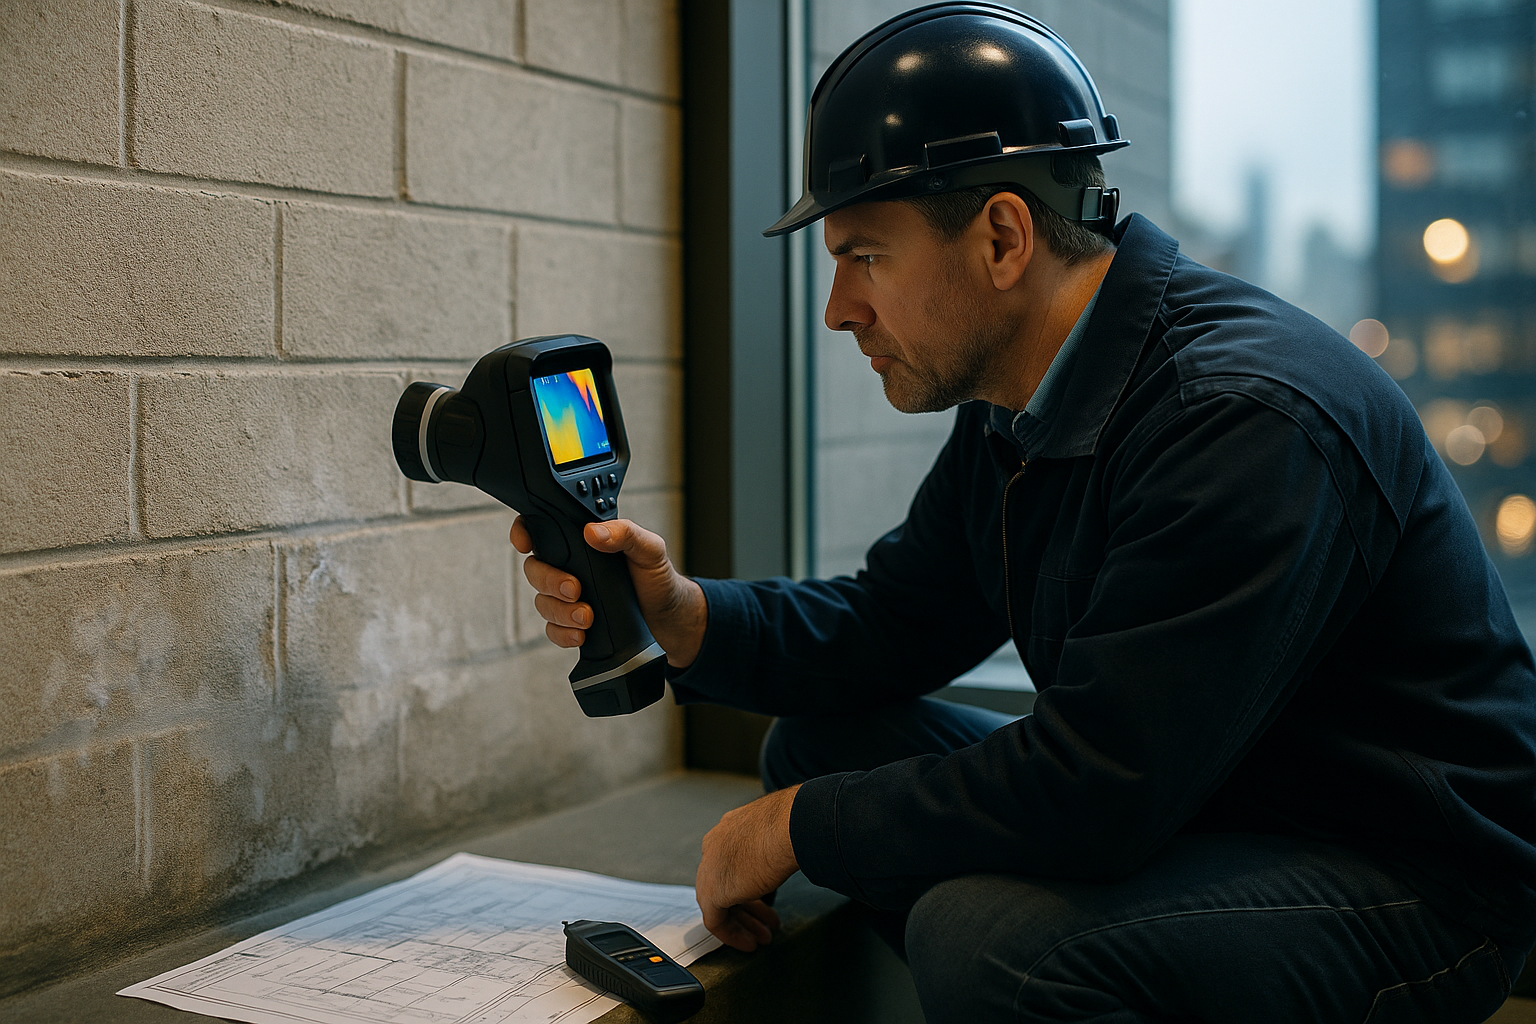
- Infrared Thermography: Scan vast areas for temperature anomalies where wetness lingers longer. This technique is best leveraged under optimal weather, such as clear, cool nights after hot days.
- Ground Penetrating Radar (GPR): Adds another dimension, both figuratively and literally. It reveals what’s inside concrete, roofing, or buried waterproofing.
- Acoustic & Core Sampling: Not technically “non-destructive,” but invaluable when you need confirmation.
5. Case Studies: Patterns Repeat
Old masonry buildings often leak at window interfaces and cracks. Skylight drainage almost always fails due to dried gaskets or blocked weeps, redirecting water into nooks that defy gravity. Water travels through steel deck flutes, which remain out of sight until the damage is already inside.
What Goes Wrong: Failure Modes and Real-World Lessons
Every hidden leak tells a story. The same patterns keep showing up, and knowing them arms you to prevent future headaches.
1. Common Entry Points
- Failing roofs/blind flashings.
- Poor repairs or incompatible patch materials.
- HVAC or plumbing penetrations.
- Masonry cracks, gaps in historic repairs, and weather-driven porosity increase.
Interior symptoms? Peeling paint, spalling stucco, white salts (efflorescence), and black mold.
2. Site and Environmental Factors
Bad grading and landscaping funnel water to weak points; no detail is too small. Heavy weather (nor’easters, freeze-thaw cycles) test everything. Ice dams in cold climates defeat even well-constructed roofs.
3. Repairs Done Right
Effective repair means eliminating water sources, not just patching symptoms.
- Roofs need prep: cut out failing membranes, use the right adhesives, heat-weld patches.
- Masonry? Repoint, seal, and most importantly, manage how water leaves, not just how it’s kept out.
- Flashings/Fenestrations? It’s all about details such as gasket renewal, weep hole cleaning, and correctly integrated layers.
X-Ray Vision: How Non-Destructive Testing Sees More
Why break what you’re trying to save? Master the art of seeing through the surface.
1. Infrared Thermography (IRT)
Maximize its effectiveness by understanding how it works: moisture has higher thermal mass, so wet zones cool and reheat differently. But here’s the catch: IRT needs the right day and night cycle, and it is blind to deep interior leaks unless conditions cooperate. Always, always verify with physical sampling.
2. Ground Penetrating Radar (GPR)
If you need depth, this is your tool. Electromagnetic pulses reveal voids, hidden pockets, and delaminations. It’s not foolproof, but combined with IRT, you get a nearly 3D understanding.
3. Getting Granular: TDR, UWB, Resistance Sensors
- TDR: Measures time delay in reflected signals, quantifying moisture across wall systems.
- Ultra-Wideband Radar: Discriminates wet vs. dry, though precision is still being refined.
- Moisture Sensors: In wood, calibrated resistance sensors are gold; in masonry, less so but provide useful trends.
4. Back to ELD
As before, ELD has clear strengths: finds pinhole membrane failures invisible to other tools. Choose voltage based on substrate and desired depth/search precision.
The Playbook: Integration and Preventative Discipline
1. Stack Your Tools
Start broad (IRT for area scans), then go narrow (moisture meters, ELD, GPR). Always triangulate: use at least two unrelated methods before opening walls. Validate everything with invasive methods at critical decision points.
2. Preventative Maintenance: The 80/20 of Moisture Management
The money is in maintenance. Schedule semiannual checks. Target:
- Roof drainage, flashings, terminations.
- Windows, doors, and penetrations.
- Plumbing and HVAC.
Develop Water Intrusion Response and Damage Prevention Plans. Know who to call, where to look, and what to check in a crisis.
3. Calibration & Documentation
Your tools are only as good as how you use them. Calibrate for specific emissivity, environmental influences, and material properties. Compare results to invasive sampling. Mark and document every finding with photos and floor plans.
4. Play the Long Game: Environmental Context
Schedule critical tests at times when leaks are most likely to occur, such as after heavy weather rather than in mild dry spells. Learn the building’s quirks; this effort pays off when the next “hidden” leak tries to sneak by.
Conclusion
Hidden water doesn’t announce itself before wreaking havoc. But with a systematic, layered approach, when you see every building as a puzzle to interrogate rather than just patch, you get control. The ultimate aim isn’t detecting leaks. It’s creating a condition where leaks have nowhere left to hide.
Build your toolkit. Stack your methods. Maintain proactively. The result? A healthier building, fewer catastrophes, and a lot less surprise when you open up that wall.
References
- American Society for Testing and Materials. (2020). ASTM E2128-20: Standard Guide for Evaluating Water Leakage of Building Walls. ASTM International.
- American Society for Testing and Materials. (2019). ASTM E1105-19: Standard Test Method for Field Determination of Water Penetration of Installed Exterior Windows, Skylights, Doors, and Curtain Walls by Uniform or Cyclic Static Air Pressure Difference. ASTM International.
- American Society for Testing and Materials. (2022). ASTM C1601-22A: Standard Test Method for Field Determination of Water Penetration of Masonry Wall Surfaces. ASTM International.
- American Society for Testing and Materials. (2017). ASTM D7877-17: Standard Guide for Electronic Leak Detection of Installed Waterproof Membranes. ASTM International.
- American Architectural Manufacturers Association. (2017). AAMA 501.2-17: Quality Assurance and Diagnostic Water Leakage Field Check of Installed Storefronts, Curtain Walls, and Sloped Glazing Systems. AAMA.
- American Architectural Manufacturers Association. (2017). AAMA 511-17: Voluntary Test Method and Specification for Forensic Water Penetration Testing of Fenestration Products. AAMA.
- National Roofing Contractors Association. (2024). The NRCA Waterproofing Manual—2nd Edition.
- Padole, A. A., & Mhask, S. Y. (2017). Infrared Thermography for Building Inspection: A Non-Destructive Method. International Journal of Engineering Research in Mechanical and Civil Engineering, 2(4).
- Barreira, E., & Almeida, R. M. F. (2019). Infrared Thermography for Building Moisture Inspection. Springer.
- Vokey, D., & Katz, S. (2023). Risk Mitigation and Loss Control Using Electronic Leak Detection. IIBEC Interface, August 2023.
- Flynn, D. R., & Yaniv, S. L. (1983). Highway noise criteria study: Relations among frequency weighting procedures. National Bureau of Standards.
- Said, M. N. (2004). Moisture Measurement Guide for Building Envelope Applications. National Research Council Canada.